When a carbon steel skillet lands on our workbench fresh from the press, it carries the cold, pale grey sheen of stamped industrial sheet iron. It holds a distinct weight in the hand: lighter and more responsive than cast iron, yet denser and more solid than spun aluminum. Right out of the crate, this metal is vulnerable. Without a protective layer forged from fat and fire, ambient moisture in the kitchen air will corrode the iron within hours, speckling the raw surface with fine orange rust.
Seasoning is not a decorative finish or a nonstick coating applied with adhesives. It is a hard, glass-like polymer that we build directly into the microscopic valleys of the metal face. By spreading a minute film of drying oil over the iron and driving it past its smoke point, we link short liquid fatty acid chains into long, insoluble carbon matrices. Handled with patience and a clear eye for how steel behaves under heat, this process converts an unfinished piece of shop steel into an enduring kitchen tool that improves with every turn at the stove.
Stripping the Factory Shipping Wax
Before steel leaves the press and heads into transit, manufacturers coat it with an anti-corrosive shield. European makers often dip their pans in hot beeswax, while others mist the metal with industrial petroleum paraffin or synthetic lacquer. If we apply cooking fat directly over this shipping coat, our seasoning will bond to the wax rather than the iron crystal lattice, causing the entire surface to peel off during the first high-heat cook. We have to strip the metal down to its bare, tactile grain.
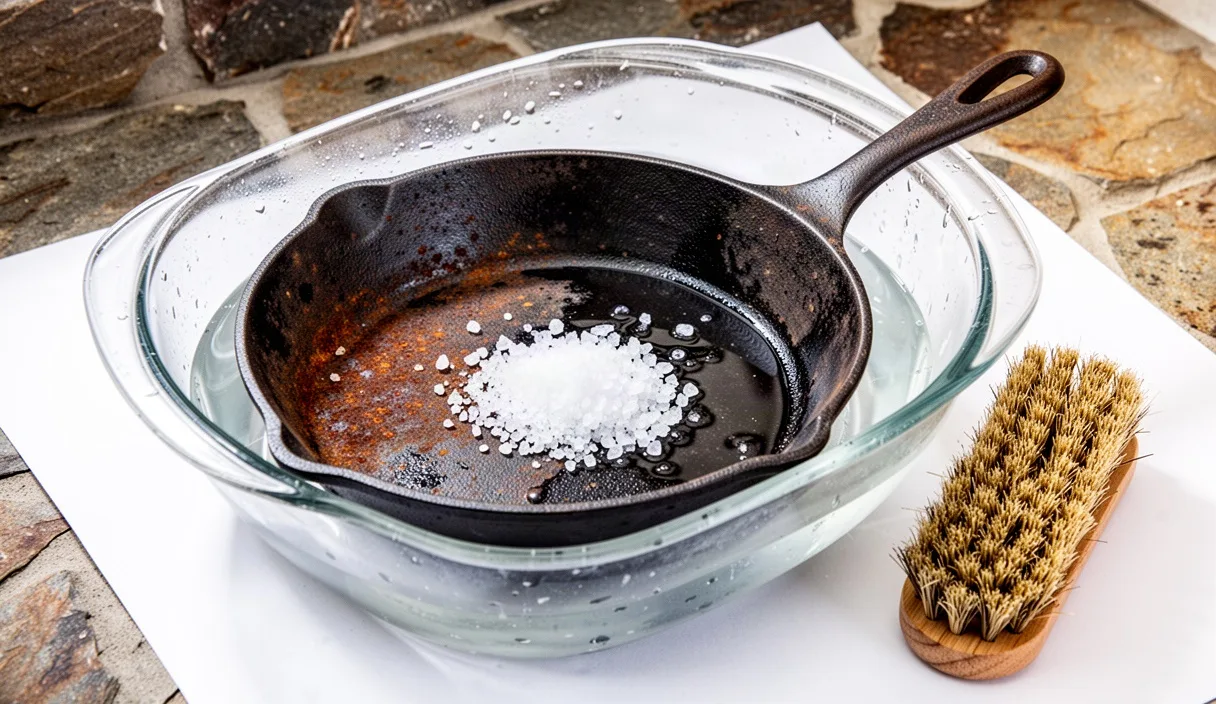
To break down heavy wax coatings, fill your sink or a wide basin with boiling water and two tablespoons of sodium carbonate or basic grease-cutting dish soap. Submerge the pan for ten to twelve minutes to soften the protective layer. The wax will turn milky and slide loose from the rim. If your skillet has a synthetic lacquer coat rather than natural wax, you will need very hot water, an abrasive scouring pad woven with coarse synthetic fibers, and firm downward pressure.
Take a stiff natural-bristle brush or stainless steel wool and scrub every square inch of the iron. Do not neglect the underside, the exterior walls, or the joint where the flat handle is riveted to the pan body. Rinse with hot water. When the steel is truly bare, running water will not bead up on the metal face; instead, it will sheet off in a flat, even plane. If you see water droplets gathering into beads, wax remains on that zone. Scrub those areas a second time until the water sheets cleanly.
Selecting an Oil with High Unsaturated Fat
Polymerization requires lipids that readily oxidize and bond. Saturated fats like tallow, lard, or butter contain stable single bonds between carbon atoms, which make them wonderful for cooking but slow and irregular to cross-link into a dry, hard resin. For our initial foundation coats, we look for oils rich in polyunsaturated and monounsaturated fatty acids, particularly those with a moderately high smoke point and a clean drying profile.
Every oil carries an iodine value, which measures its tendency to absorb iodine and indicates the number of reactive double bonds present in the fatty acid chains. A higher iodine value means the oil dries into a tougher film, but an excessively high value can yield a brittle polymer that flakes away from smooth steel under thermal stress. We find the sweet spot in oils that combine a high smoke point with balanced polyunsaturated content.
| Oil Variety | Smoke Point (Fahrenheit) | Dominant Fatty Acid | Film Characteristics |
|---|---|---|---|
| Grapeseed | 420 to 425 degrees | Linoleic (Polyunsaturated) | Smooth, hard, uniform bond |
| Refined Sunflower | 440 to 450 degrees | Oleic / Linoleic blend | Resilient, dark amber, low carbon ash |
| Refined Canola | 400 to 425 degrees | Oleic (Monounsaturated) | Flexible base coat, very accessible |
| Raw Linseed (Flax) | 225 to 230 degrees | Alpha-Linolenic (Polyunsaturated) | Hard as glass, prone to micro-flaking |
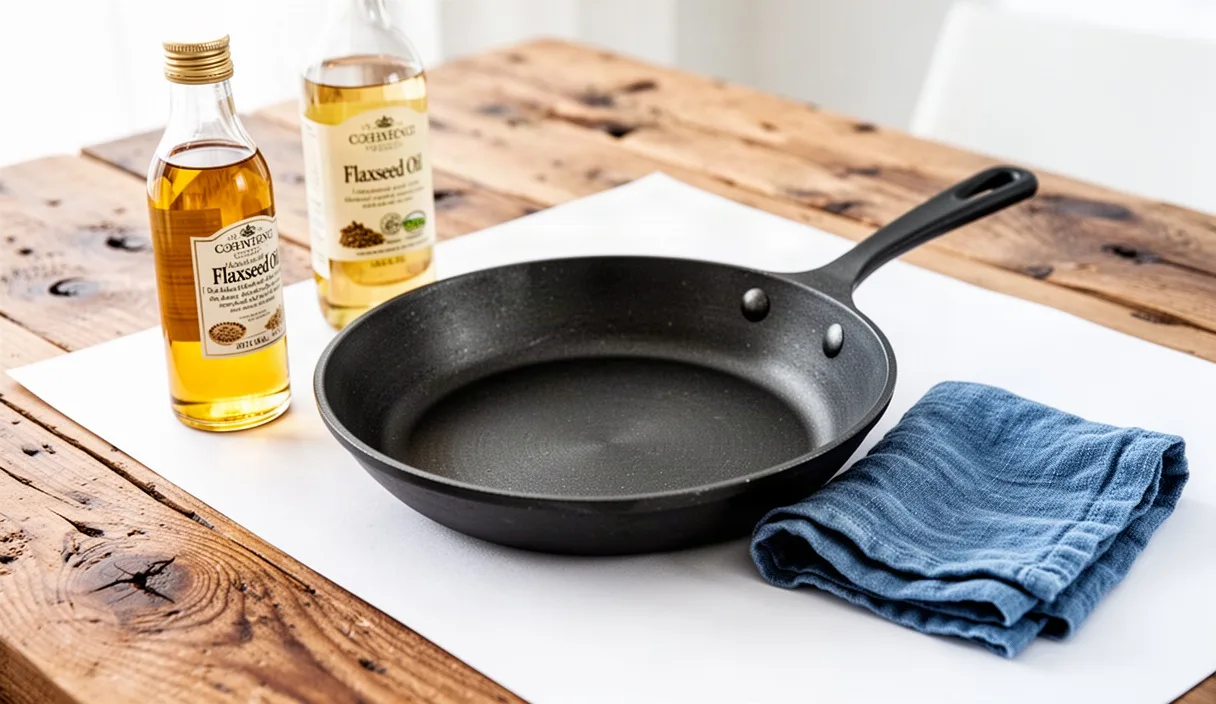
For most steel pans, we rely on refined grapeseed oil or high-smoke sunflower oil. They cure into an elastic, durable skin that moves with the rapid expansion and contraction of thin carbon sheet metal. While raw food-grade flaxseed oil produces an exceptionally hard film on heavy cast iron, its extreme rigidity often causes it to shatter or flake off smooth, low-porosity carbon steel when subjected to searing temperatures.
Wiping the Pan Bone Dry
The single most destructive habit in pan seasoning is leaving too much oil on the metal. Liquid fat expands when heated. If a visible puddle or thick grease film sits on the floor of the skillet, it will not polymerize into a smooth, glassy glaze. Instead, it will boil, break apart, and curdle into sticky, gummy orange droplets that trap grit and refuse to cure. Our goal is a layer only a few molecules thick.
Place your thoroughly dried pan on the bench. Pour a measured coin of oil, about the size of a five-cent nickel or roughly a quarter-teaspoon, directly into the center of the pan. Using a folded cotton cloth or an unbleached shop paper towel, rub the oil across the entire interior cooking surface, up the sloping walls, around the outer perimeter, and over the exterior base. The metal should look dark and glossy.
Now, take a fresh, completely dry lint-free cotton cloth. Begin wiping the pan down as if you applied the oil by mistake and are trying to remove every trace of it. Buff the flat floor, the curved transitions, and the exterior. Continue buffing until the metal shows no liquid sheen, no streaks, and no fingerprints. When you look across the surface under an overhead shop light, you should see only a faint matte glow. The iron feels almost bone dry to the touch, yet the microscopic pores in the metal are filled and primed for heat.
Managing Heat on the Range Top
While an oven works well for thick-walled cast iron, range-top seasoning gives us immediate visual control over thin carbon steel. Different heat sources deliver energy to the pan base in fundamentally different patterns, requiring deliberate adjustments to avoid warping the bottom plate.
- Gas Burners: Flames spread naturally outward across the bottom curve. Keep the flame centered so heat does not climb up the bare handle. A medium-high setting allows you to rotate and tilt the pan over the heat cone to cure the high walls.
- Electric Coils: Spiral coils create hot contact ridges. Place the skillet on a burner matched closely to the base diameter, and use medium heat for the first four to five minutes before stepping up to higher heat to prevent thermal shock.
- Induction Rings: Magnetic fields heat the core of the iron almost instantly. Never drop a room-temperature carbon steel pan onto high or boost settings on induction. The sudden thermal differential between the heated center and the cool perimeter can dish the center of a two-millimeter steel base. Warm the steel at setting four or five out of ten for three minutes before increasing power.
Set your burner to medium-low. Allow the pan to soak up the heat evenly for roughly three to four minutes. You will feel warmth radiating when you hold a hand four inches above the rim. Increase the burner output to medium-high. We want the surface temperature of the steel to climb steadily past 425 degrees Fahrenheit, crossing the smoke point of our chosen oil, which typically sits between 435 and 460 degrees.
Ensure your workspace has active cross-ventilation. Turn your range hood fan to its highest draw and open nearby windows. As the oil reaches its transformation threshold, you will see thin, wispy veils of pale grey smoke rising from the steel face. This smoke confirms that volatile compounds are leaving the fat, allowing the carbon chains to lock directly onto the metal surface.
Reading the Color Changes Across the Steel
Steel communicates through color. As clean carbon steel heats up past 400 degrees Fahrenheit, internal oxidation and thin-film optical interference begin to shift the metal hue before the oil polymer fully sets. Watching these colors sweep across the pan lets you know precisely where the seasoning is curing and where more heat is needed.
- Pale Straw to Warm Amber: Between 410 and 440 degrees, the pale grey metal shifts toward a light champagne yellow, followed quickly by rich amber. The first fatty acid chains are cross-linking into the surface grain.
- Deep Bronze and Violet: As the heat climbs toward 470 degrees, the color deepens into a warm bronze tone with subtle flashes of purple near the hottest sections of the base plate. The oil is losing its slickness and transforming into a dry solid.
- Gunmetal Blue: In areas where the steel reaches roughly 550 degrees, the metal itself takes on a deep, lustrous blue-black tone. This is the formation of black iron oxide (magnetite), an exceptionally stable, non-porous mineral layer that works hand-in-hand with your cured oil.
- Mottled Matte Charcoal: After the smoke clears and the oil film finishes cross-linking, the shiny metallic luster gives way to a dull, dark slate or charcoal appearance. This indicates a fully baked base layer.
Do not expect this color transformation to occur in a uniform, factory-perfect circle. Steel retains grain lines from the cold-rolling mills, and heat blooms unevenly across stove grates. Your skillet will develop streaks of bronze, patches of charcoal, and zones of silver-blue across its floor and sides. This mottled landscape is the authentic mark of hand-seasoned steel. Flat uniformity is an aesthetic myth; functional durability is what we build for.
Cooling Down and Storing the Skillet
Once the pale smoke stops rising and the skillet surface has shifted into deep amber and charcoal, shut off the heat source. Leave the pan sitting undisturbed on the unheated burner or move it onto a dry, unheated cast iron trivet. Never plunge a hot carbon steel skillet into a sink of cold water, and never set it down on a cold stone or granite countertop. Rapid thermal contraction will pull the crystalline structure of the metal apart, causing the flat floor to buckle upward into a permanent dome.
Allow the skillet to return to ambient room temperature naturally. This resting period takes roughly twenty to twenty-five minutes. As the iron slowly contracts, the newly formed polymer chains settle into their permanent structural arrangement, gripping the micro-textured surface of the iron.
Once the pan is cool enough to touch with an open palm, rub one final drop of oil across the cooking surface using a dry cloth. Buff it out completely, leaving no wet grease behind. Store your seasoned skillet in an open, dry area with good airflow. If you must stack other cookware inside the skillet, lay a single sheet of heavy felt, a folded cloth napkin, or an unbleached paper towel across the interior to stop heavy stainless rims from gouging the fresh finish.
Common Mistakes
We see the same hand errors repeated when newcomers treat carbon steel like coated nonstick ware. Avoiding these missteps preserves the work you put into your initial heat cycles.
- Leaving Puddled Oil: Applying fat with a generous hand creates a tacky, sticky amber film that smells rancid and snags spatulas. The oil wipe must be so dry that the pan appears almost bare before it encounters the flame.
- Thermal Shocking the Iron: Bringing a thin two-millimeter pan from zero to maximum heat on an induction or commercial gas ring within ten seconds will bow the base plate. Always ramp heat up gradually across four to six minutes.
- Cooking Acidic Foods Early: Introducing tomatoes, red wine reductions, citrus juice, or raw vinegar into a freshly seasoned pan will dissolve the young polymer in minutes. Save acidic recipes for stainless steel or enameled iron until your carbon steel base has darkened through months of active use.
- Scouring with Harsh Alkaline Cleaners: Industrial oven sprays, high-pH caustic lye soaps, and automatic dishwashers will strip the polymer down to the white iron. Wash only with hot water, a moderately stiff bristle brush, and mild dish soap when needed.
Practical Next Steps
Your skillet now carries its primary foundation layer, but the seasoning process is only twenty percent complete. The thickest, most durable nonstick patina is built over time through the polymerization of cooking fats at high working heat.
For your first cook, choose ingredients that offer abundant clean fat and minimal sugars. Slice two yellow onions into thin half-moons, add a tablespoon of high-heat cooking oil, and sweat them over medium heat for fifteen to twenty minutes, pushing the onions up the sides of the walls. The sulfur compounds and lipids will help condition the raw steel and break in the pan base. Alternatively, sear fatty cuts of pork or fry batch after batch of thin potato peels tossed with kosher salt and vegetable oil.
After cooking, scrape the pan floor clean while it is still warm using a flat-edged wooden spatula or a chainmail scrubber designed for iron cookware. Rinse under hot running tap water, dry it thoroughly with a dedicated towel, and place it back on a low flame for ninety seconds to drive off any trapped surface moisture. Finish with a five-second wipe of your grapeseed or sunflower oil, buff it dry, and let it rest until the next fire.