When we pull an old skillet from a damp cellar, a barn floor, or the back of an antique shop stall, we often find the iron masked beneath crust, grease, and an abrasive layer of iron oxide. Raw cast iron is an honest, resilient alloy of iron and carbon, yet it remains intensely vulnerable to moisture. Rust develops silently across the cooking surface, blooming from light orange freckles into thick, powdery scales that obscure the foundry marks stamped into the bottom of the pan decades ago.
Reclaiming that piece does not demand heavy machinery or toxic chemicals. A controlled acetic acid bath, prepared with household white vinegar and balanced with cool water, strips the oxidation through a predictable chemical reaction. This method dissolves the iron oxide while sparing the sound metal underneath, provided we manage the exposure with care. By understanding the metallurgy of the casting and observing the reaction at regular intervals, we can return a neglected pan to a clean, porous gray slate ready for building a durable new seasoning.
Diagnosing Surface Rust Versus Structural Pitting
Before we submerge any piece of iron, we need to examine the nature of the damage. Rust exists in distinct stages. Light oxidation appears as a bright, powdery orange dust that rubs off against a dry thumb. This is superficial atmospheric rust, forming quickly on an unseasoned surface exposed to humidity. Moderate rust presents as a darker, reddish-brown crust that adheres firmly to the casting, often crusting along the exterior heat ring and up the sidewalls. Both conditions respond readily to acid bathing without sacrificing the underlying pan profile.
Structural pitting presents a different challenge. When water sits trapped against the iron for years, oxidation bores deep into the crystalline matrix of the casting, eating away tiny pockets of base metal. Once that rust dissolves, small craters or depressions remain. While shallow micro-pitting on a cooking surface can eventually be filled with multiple thin layers of polymerized oil, deep structural pitting weakens the wall of the vessel. We also look for hairline fractures, particularly where the handle meets the rim, by suspending the skillet by its handle and lightly tapping the rim with a wooden spoon. A clear, bell-like ring indicates sound iron, while a dull, dead clunk suggests a hidden crack. If a pan has deep cracks through the floor or sidewalls, acid will not save it, and cooking over direct heat could lead to catastrophic failure.
| Rust Condition | Visual and Tactile Characteristics | Restoration Approach |
|---|---|---|
| Light Surface Oxidation | Bright orange powder, smooth metal underneath, wipes onto a cloth | Single brief soak of twenty to thirty minutes, followed by light scrubbing |
| Moderate Crusted Scale | Dark red-brown crust, rough texture, adheres to the casting | Two to three short soak cycles with intermediate mechanical scrubbing |
| Severe Structural Pitting | Flaking iron, deep pocketing, irregular cratered surfaces | Assess structural integrity first; soak cautiously to avoid thinning walls |
If our inspection reveals thick layers of carbonized food and burnt oil alongside the rust, we address that organic crust first using lye or a washing soda bath. Vinegar attacks mineral rust, but it struggles to penetrate fossilized lard or scorched grease. Stripping the grease layer down to the bare iron ensures the acid bath works uniformly across the whole piece rather than cutting into bare patches while stalled behind carbon barriers.
Mixing the Acetic Acid Solution
The standard chemistry for this restoration relies on ordinary distilled white vinegar, which contains approximately five percent acetic acid by volume. We do not use concentrated industrial or agricultural cleaning vinegars for cast iron. Industrial strengths act too aggressively, corroding the malleable gray iron before we can manage the reaction.
We prepare a bath using equal parts distilled white vinegar and cool tap water. Adding equal volume water slows the reaction rate to a steady, observable speed and doubles the volume of liquid so our vessels remain fully submerged. Warm or hot water should never be used, as higher temperatures accelerate acid activity to an unpredictable pace, increasing the risk of uneven etching on delicate foundry marks.
Selection of the soaking tub is equally critical. We use heavy, food-grade polyethylene containers, high-density plastic storage tubs, or thick five-gallon polypropylene buckets. We never mix an acid bath inside an aluminum stockpot, a galvanized steel wash basin, or an enameled cast-iron sink. Acetic acid reacts aggressively with zinc and aluminum, ruining those containers and contaminating our bath with heavy metal salts. The soaking vessel must allow the skillet to rest flat or stand on edge with sufficient clearance so the liquid covers every rusted point by at least an inch.
Timing the Soak to Protect Base Iron
Acetic acid is non-selective. It attacks iron oxide eagerly, breaking the bond between iron and oxygen to form water-soluble iron acetate, but once the rust dissolves, the acid attacks the bare iron beneath. Gray cast iron contains small flakes of graphite embedded within the iron crystal structure. If an acid bath is left unattended, it will dissolve the iron away from the graphite, leaving behind a soft, powdery gray-black residue known as graphitic carbon. This permanently pits the pan and softens the metal.
We treat the vinegar bath as a series of controlled, thirty-minute intervals rather than an overnight soak. After mixing our solution, we lower the iron into the tub and monitor the surface. Within a few minutes, tiny bubbles of hydrogen gas gather across the rusted patches. This effervescence confirms that the acid is actively converting the oxides.
- First Interval (Thirty Minutes): The solution begins lifting the bright orange surface rust. We withdraw the pan, rinse it with cold water, and scrub away whatever loose slurry has formed.
- Second Interval (Thirty Minutes): The bath targets darker, more stubborn scale. We submerge the pan again only if patches of rust remain after the initial scrub.
- Third Interval (Final Check): Rarely should a piece require more than ninety minutes of cumulative acid exposure. If slight discoloration remains after two or three cycles, it is safer to remove the rest mechanically than to risk chemical erosion of the foundry stamps.
We never walk away from a submerged skillet for hours. An unattended afternoon in an acid bath can turn a crisp collector mark into a blurred, pitted shadow. When the bath turns a muddy yellowish-brown and the loose rust slides away under running water, the chemical stage of our work is finished.
Mechanical Scrubbing with Salt and Copper
The acid softens the rust, but mechanical abrasion carries it away from the pores of the iron. As soon as we pull the piece from the bath, we carry it straight to the sink. Allowing an acid-soaked pan to sit exposed to the air causes immediate flash rusting, where the combination of acid residue, moisture, and ambient oxygen turns the gray metal orange within two minutes.
We rely on scrubbing mediums that are softer than the iron itself to protect the underlying casting. Pure copper mesh scrubbers are ideal. Copper has a lower hardness rating than gray iron, meaning it will scrape away iron acetate and softened oxide scales without gouging or scratching the baseline metal. We avoid copper-coated steel pads; we always test our scrubbers with a small magnet. If the magnet sticks firmly to the mesh, it is copper-plated steel wire, which can leave scratch marks on antique iron.
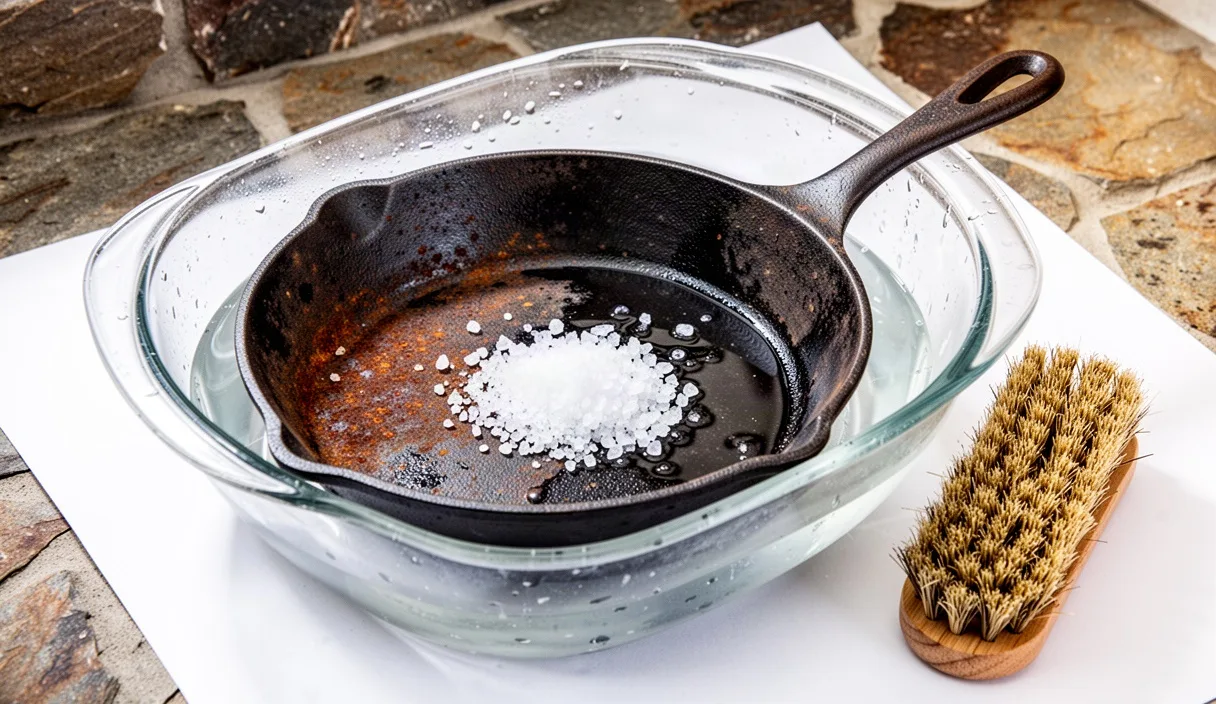
To assist the copper mesh, we pour coarse kosher salt directly onto the wet pan. The jagged salt crystals provide mechanical bite, scouring into tight corners and along the transitions where the floor meets the sidewalls. As the salt mixes with the remaining liquid, it forms a thick, abrasive paste that suspends the rust particles without dissolving immediately. For tight contours, around the handle pour spouts and within embossed lettering, we use a stiff natural tampico or nylon bristle brush. We avoid rotary wire wheels attached to power drills. A high-speed wire wheel will burnish the raw iron, smoothing down the microscopic peaks and valleys that a new layer of seasoning needs to anchor itself firmly to the metal.
Neutralizing the Acid and Flash Drying
Once the bare metal emerges, appearing as a uniform, pale battleship gray, we must halt the chemical action instantly. Rinsing with plain water is not enough; microscopic traces of acetic acid remain trapped within the porous iron matrix, ready to fuel fresh oxidation as soon as the pan warms up.
To halt the reaction, we wash the skillet thoroughly with very cold water and an alkaline agent. A slurry of standard sodium bicarbonate (baking soda) mixed with cold water, or a generous wash with basic liquid dish soap, neutralizes the remaining acid. Cold water is essential here. Warm or hot water increases the speed of flash rust, causing the immaculate gray iron to bloom with orange stains before a towel can touch it.
After scrubbing with the neutralizing wash, we rinse the pan with cold water and dry it immediately using clean, lint-free cotton workshop towels. We press the cloth firmly into the corners, the handle hole, and across the bottom. Even with aggressive hand drying, moisture remains trapped in the micro-structure of the casting. To drive out this remaining water, we move the iron directly to a heat source. We place the pan into an oven preheated to two hundred degrees Fahrenheit, or set it over a very low stovetop burner for ten to fifteen minutes. The gentle heat forces the water out of the iron pores as vapor, leaving the surface bone dry and ready for oil.
Initial Protective Oil Coat on Fresh Metal
Raw, unseasoned cast iron cannot sit in open air without beginning to oxidize. The moment the pan is warm to the touch and completely dry from the oven, we apply our foundation layer of protective oil. This first application is not merely about non-stick performance; it seals the vulnerable metal against atmospheric moisture.
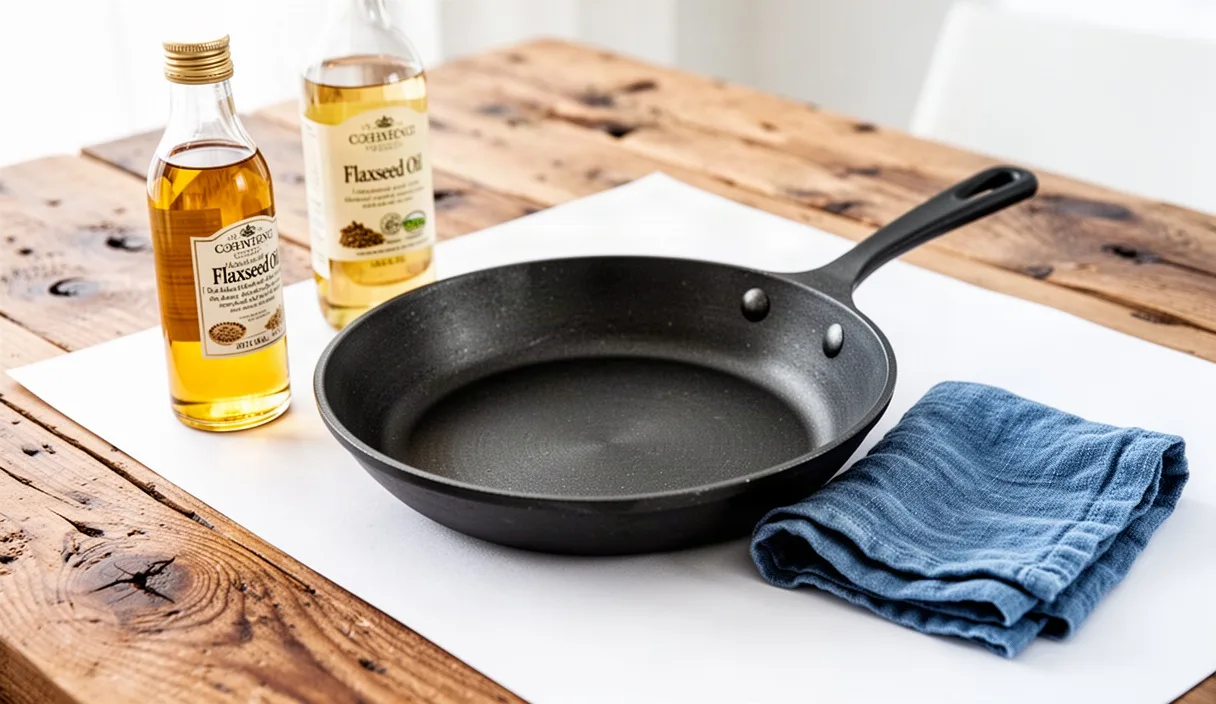
We choose an oil with a high smoke point and a high concentration of polyunsaturated fats, such as refined grapeseed oil or clean, food-grade flaxseed oil used sparingly. A small pool of oil, roughly the size of a nickel, is poured into the center of the warm casting. Using a folded piece of heavy cotton cloth or an unbleached paper towel, we spread the fat across every square inch of the pan: the interior floor, the flared sidewalls, the handle, the bottom exterior, and inside any hanging holes.
Once the pan is thoroughly coated, we take a second, completely dry cotton cloth and wipe the entire piece down as if we made a mistake by applying the oil in the first place. We buff the casting until it looks dry and matte, leaving behind an imperceptibly thin, microscopic film of lipid. If oil looks wet or glossy on the surface, it is too thick; excess oil pools during heating, creating sticky, semi-cured droplets that will flake off later. We then place the skillet upside down in an oven heated to four hundred and fifty degrees Fahrenheit for sixty minutes, allowing the oil to polymerize and cross-link directly into the clean iron grain. After an hour, we switch off the heat and let the iron cool slowly inside the closed oven.
Common Mistakes
- Overnight Soaking: Leaving cast iron submerged for eight to twelve hours in vinegar dissolves the base metal, eroding vintage foundry marks, weakening the handle, and leaving behind soft graphitic carbon deposits.
- Using Undiluted or Cleaning Vinegar: Concentrated acetic acid strips metal unevenly and bites into sound iron before rust in deeper pores has loosened.
- Abrasive Wire Wheels on Grinders: High-speed steel brushes burnish the metal surface slick, stripping away the natural tooth that polymerized oil needs to bond securely.
- Rinsing with Hot Water: Hot rinses accelerate flash rust on freshly stripped, unneutralized iron, turning a clean gray piece bright orange within seconds.
- Applying Heavy Coats of Oil: Leaving visible liquid fat on the pan before the first bake yields an uneven, patchy, sticky varnish rather than a hard, protective micro-layer.
Practical Next Steps
A single cycle through the oven provides the metal with an initial seal, but a functional cooking surface requires depth. Once the pan has cooled to room temperature from its first cure, inspect the color. It should display a light golden or bronze hue, signaling the start of true polymerization over the raw gray metal. Repeat the oiling, rigorous wiping, and high-heat baking process at least two more times to build a sound, hydrophobic base.
For your first few meals with the restored pan, cook foods rich in clean rendered fats, such as shallow-frying root vegetables or searing cuts of beef. Avoid acidic foods like tomatoes, wine reductions, or vinegar-based sauces until the black patina has darkened and thickened through regular use. With steady maintenance, clean drying habits, and occasional light oiling, iron salvaged from heavy rust can serve faithfully for another century.