When the soil loosens in late summer, we lift our garlic and onions by hand, levering underneath the root plates with a broadfork to avoid snapping the brittle stems. The bulbs emerge heavy, encrusted with damp loam, and fragile under their outer wrappers. At this moment, they are not yet winter keepers; they are living, high-moisture roots that need careful handling before they can endure months of cold storage. Winter keeping is an ancient, quiet craft that hinges on how water leaves the plant cell by cell.
Every bulb we put away for January stews or spring roasts represents months of soil building and weeding. If we rush them into dark cupboards while their necks hold even a few drops of sap, rot enters through the top tissues and softens them from the core outward. By treating the curing and storage process as a slow physical transition rather than passive waiting, we preserve the pungent essential oils, the papery tunics, and the tight, dense flesh that winter cooking demands.
The Curing Window: Drying Neck and Roots
Curing is not merely drying the outside; it is the physiological closing of the neck and the desiccation of the root base. As the green vascular bundles in the stem shrink, they pinch shut like a drawstring bag, sealing the tender interior cloves away from airborne fungal spores. We spread our harvest in a single layer across slatted wooden tables or wire mesh screens hung from the rafters of an open shed. Air must move under, over, and through the mass of foliage. Direct sun will scald the tunics and turn the cloves bitter, so we look for deep shade paired with a persistent summer draft.
We allow two to four weeks for this moisture transfer, depending on ambient humidity. You can track this curing process by monitoring the state of the stem:
- The fresh harvest: The foliage is pliable and green, and the neck is thick and slippery between your thumb and forefinger.
- Midway curing: The leaves turn tawny and crackle when handled; the inner core of the stem remains slightly spongy.
- Fully cured: The neck shrinks to a flat, brown ribbon with no damp green pulp inside, and the roots dry into stiff bristles.
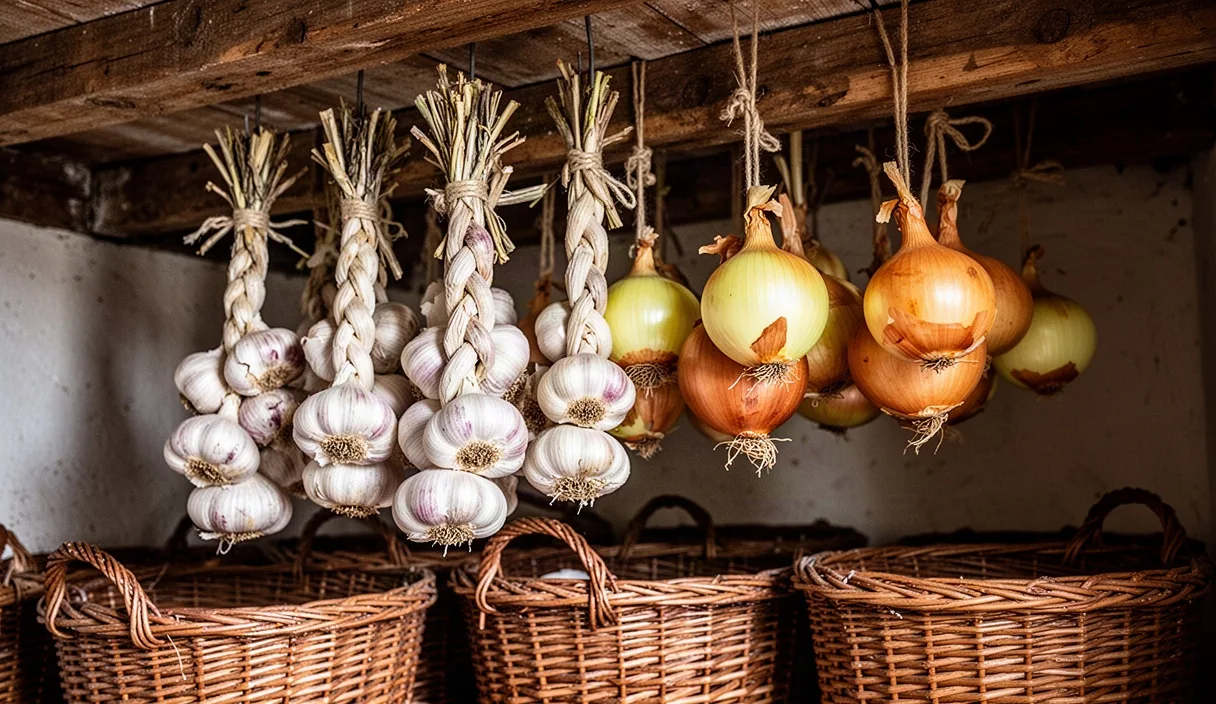
Once the stem has lost all moisture right down to the bulb shoulder, we trim the harvest. We clip the roots with clean bypass shears, leaving about a quarter-inch of bristle to protect the basal plate from cracking. We cut the stems two inches above the bulb for hardneck garlic and storage onions. For softneck garlic, we leave the long stems intact if we intend to weave them into braids. If you cut the stems flush against the bulb shoulder, you break the dry seal and invite airborne pathogens into the cloves.
Ideal Humidity and Temperature Benchmarks
Once cured, alliums enter dormancy, but they remain living organisms that respire slowly. Temperature dictates their metabolic rate, while relative humidity controls whether they desiccate into hard stones or sweat and rot. Storage onions prefer cold temperatures close to freezing, whereas garlic prefers cool rooms that do not trigger rooting or premature sprouting.
| Allium Type | Storage Temperature | Target Relative Humidity | Expected Longevity |
|---|---|---|---|
| Hardneck Garlic (Rocambole, Porcelain) | 54 to 58 degrees F (12 to 14 C) | 58 to 64 percent | 4 to 7 months |
| Softneck Garlic (Silverskin, Artichoke) | 52 to 56 degrees F (11 to 13 C) | 55 to 62 percent | 8 to 11 months |
| Pungent Yellow Storage Onions (Copra, Stuttgarter) | 33 to 38 degrees F (1 to 3 C) | 62 to 68 percent | 7 to 9 months |
| Sweet Onions (Walla Walla, Vidalia types) | 34 to 38 degrees F (1 to 3 C) | 65 to 70 percent | 6 to 10 weeks |
The danger zone for garlic lies between 40 and 50 degrees Fahrenheit. This range mimics the autumn soil conditions that tell a garlic clove to break dormancy, send out white rootlets, and push a pale green shoot from its center. Once that internal shoot forms, the clove burns through its starches and turns fibrous and pungent. For onions, high humidity above 72 percent softens the neck and invites neck rot, while humidity below 50 percent causes the outer scales to shrink and crack open prematurely.
Why Closed Bins and Plastic Accelerate Mold
We often see gardeners pack their autumn harvest into plastic crates, sealed plastic bags, or solid-walled larder bins. This is the quickest way to spoil an entire harvest. Alliums exhale small amounts of water vapor and carbon dioxide through their dry skins as they rest. In an unvented environment, this moisture collects against the non-porous surfaces and pools on the outer tunics of the bulbs.
When stagnant moisture touches the dead cells of the onion skin or garlic paper, dormant spores of Botrytis allii (neck rot) and Penicillium (blue mold) germinate within forty-eight hours. The mold first appears as a soft, water-soaked patch near the shoulder, followed by an emerald-green or gray velvet dusting that spreads bulb to bulb through physical contact.
Instead of smooth plastic or closed totes, we house our bulbs in materials that breathe:
- Open slatted orchard crates: Built from untreated pine or cedar, these stack securely while allowing air to move freely around the corners.
- Wire mesh wire baskets: Suspended from ceiling joists to deter mice and allow total air circulation from every angle.
- Recycled burlap or jute sacks: Filled no more than halfway and hung from wall pegs in a dry pantry.
- Knitted cotton mesh bags: Suspended in pairs, holding between five and ten pounds of medium-sized bulbs each.
Separating Alliums from Moisture-Releasing Crops
A well-stocked root cellar is a balance of distinct microclimates. Many root vegetables require moist conditions to remain crisp; carrots, beets, winter radishes, and parsnips retain their quality best when packed in damp sand or sawdust at 92 to 96 percent humidity. If you place a slatted crate of garlic next to a tub of damp sand, the garlic papers will draw in that ambient moisture like blotting paper.
Apples, pears, and winter squashes present another hazard because they release ethylene gas as they ripen. Ethylene is a plant hormone that breaks dormancy in alliums. Storing onions alongside a bushel of Russet apples triggers rapid sprouting in the onion cores, quickly followed by the decay of the inner rings. Potatoes also release significant moisture through transpiration, which softens onion tunics, while the gases from the onions cause the eyes of the potatoes to sprout long, knobby shoots.
We keep our cold storage divided by moisture requirements. If your home has only one cellar or unheated room, place the high-humidity root boxes near the floor where the air is naturally cooler and damper. Suspend your garlic and onions near the ceiling or against an interior wall where the air remains dry, warm, and circulating. If space is tight, move the garlic upstairs to an unheated guest bedroom, a dark back hallway, or a larder closet that stays cool throughout the winter.
Monthly Inspections and Trimming Sprouting Bulbs
Long-term storage requires routine observation. On the third weekend of every month, we pull down our hanging sacks and crates to sort through the harvest by hand. This tactile check catches trouble before mold spores can drift to adjacent bulbs. We lift each bulb and squeeze gently around the stem shoulder using our fingers. A sound bulb feels solid, dense, and unyielding; a compromised bulb yields with a spongy, hollow resistance.
During the sorting run, we separate our inventory into three distinct groups:
- Sound keepers: Dry, tight, fully dormant bulbs. We brush away any loose papers and return them to the crates.
- Cook-first candidates: Bulbs showing minor nicks, papery tears, or a slight loosening of the cloves. These move directly to the kitchen counter for use over the coming week.
- Sprouting or soft specimens: Any bulb with an emerging green shoot or a soft shoulder. These are pulled from storage immediately.
If you catch a sprouting onion early, the flesh remains sweet and clean. Slice the bulb in half lengthwise and lever out the bitter green germ with the tip of a paring knife. The remaining rings can be minced for the soup pot. For sprouting garlic, slice each clove in half and pop out the green sprout with your knife tip, as cooking with the sprout imparts an acrid, sharp bitterness to pan sauces. If the bulb feels slippery, displays dark sunken lesions, or smells sour, discard it entirely into the hot compost pile.
Preserving Soft Bulbs in Salted Puree
When our mid-winter inspection turns up an overabundance of softening garlic or bulbs breaking dormancy faster than we can sauté them, we do not throw them away. We turn them into salted garlic paste. Salt lowers water activity, while the refrigerator temperature slows enzymatic browning and microbial activity. This preparation keeps for two to three months in cold storage and provides an immediate, ready spoonful for marinades, braises, and pan gravies.
To prepare the paste, use this measured method:
- Clean the cloves: Strip the papery skins from the cloves. Trim away the hard basal plate and pop out any pale green germ centers that have begun to shoot. Discard any cloves that show brown bruised spots.
- Weigh the garlic: Place your peeled cloves on a kitchen scale. For every eight ounces of peeled garlic, measure out one level tablespoon of non-iodized sea salt or pure pickling salt. Do not use table salt containing anti-caking agents, as it discolors the puree.
- Mince and pulverize: Transfer the cloves and salt to a food processor or a heavy granite mortar. Pulse the cloves until they crack into fine bits, then run the processor continuously until the garlic releases its juices and forms a dense, creamy paste. The abrasive salt crystals help grind the cellular walls down to a smooth emulsion.
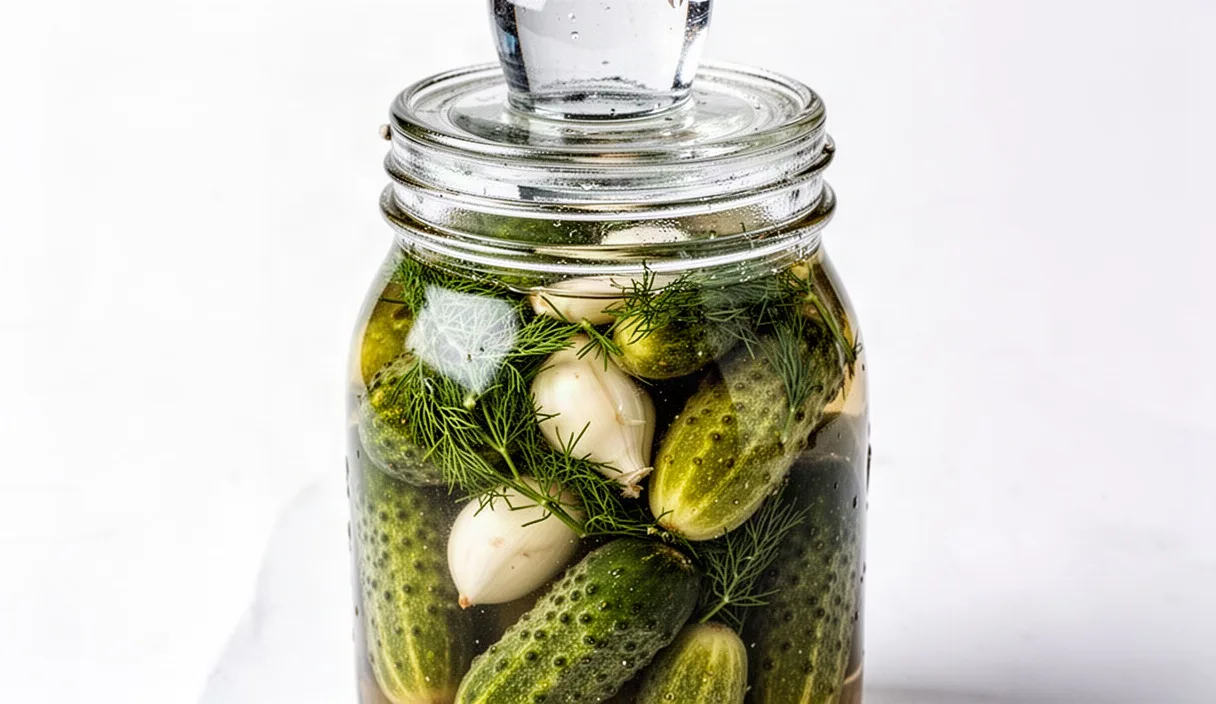
- Pack the jars: Spoon the puree into sterilized half-pint glass jars. Pack the paste firmly with the back of a spoon to eliminate trapped air pockets. Pour a quarter-inch layer of neutral olive oil over the surface to create a barrier against air contact.
- Seal and chill: Affix clean lids and place the jars immediately in the back of the refrigerator at 36 to 39 degrees Fahrenheit. Always use a clean, dry spoon to remove paste, and top up the oil layer if you plan to keep the jar for more than two weeks.
A note on food safety: untreated garlic cloves submerged in plain oil at room temperature create an anaerobic environment that can foster Clostridium botulinum. By incorporating significant salt, maintaining refrigeration below 40 degrees Fahrenheit, and keeping the shelf life within reasonable limits, we mitigate those risks. If you are uncertain about home preservation safety, consult your local agricultural extension service for tested parameters on acidified preserves.
Common Mistakes
- Washing bulbs before curing: Spraying garden dirt off fresh bulbs with a hose saturates the papery wrappers with water, driving bacteria deep between the cloves and nearly doubling the required curing time. Brush dried soil away with dry fingers instead.
- Storing alliums in the refrigerator crisper drawer: The crisper drawer runs at high humidity and low temperatures, an exact combination that breaks garlic dormancy and triggers rapid mold growth within days.
- Braiding stiff hardneck stems: Hardneck varieties possess a woody central flower stalk that snaps when bent. Braiding is intended for pliable softneck varieties; hardnecks should be trimmed and crated.
- Leaving stems uncut in small bins: If you do not braid your garlic, long stems crowd your storage crates and restrict airflow. Cut the stems to a neat two-inch stub once curing is complete.
Practical Next Steps
Walk out to your larder or curing space today and check your current batch. Pick up three bulbs from the bottom of your storage containers and press the neck tissue just above the bulb shoulder. If your thumb sinks into the neck, move those alliums out of storage and into the kitchen for dinner tonight.
Next, use a simple digital thermo-hygrometer to check the room where your bulbs sit. Take readings at floor level and five feet up. If the humidity registers above 70 percent, raise your crates onto wall shelves or hang them in mesh bags away from outside foundation walls to catch the circulating room air. Set a recurring reminder on your calendar for thirty days out to turn the crates, inspect the bulbs for soft shoulders, and process any early sprouters into a batch of salted larder paste.