An end-grain cutting board behaves differently under a blade than an edge-grain plank. When we assemble hard maple, cherry, or walnut blocks on end, we arrange millions of open wood vascular bundles pointing straight upward. Knife edges slide between these fibers instead of severing them, which keeps kitchen knives sharper and prevents the surface from scarring quickly. Yet that exact vertical orientation turns the board into an array of open capillaries, ready to pull in liquid, animal fats, and ambient kitchen humidity.
Raw timber needs an internal barrier that remains stable over seasons of washing. While liquid mineral oil penetrates quickly, it also washes out under hot water after a few washings, leaving the top millimeter of fiber dry, brittle, and prone to checking. By combining pharmaceutical-grade liquid oil with unbleached yellow beeswax, we build a conditioning paste that drops into the deep vascular network while sealing the surface with a tough, water-repellent wax skin. The work takes an afternoon of preparation and an overnight rest, but the resulting finish keeps timber stable and food-safe across decades of use.
Why Cooking Oils Spoil Inside Wood Fiber
Every woodworker and cook eventually meets someone who seasoned a chopping block with olive oil, canola oil, or walnut salad oil. Within a few weeks or months, that board begins to smell sour or stale, especially when hot meat rests on the timber. Culinary vegetable and seed oils consist of polyunsaturated and monounsaturated fatty acids that oxidize when exposed to air, room warmth, and moisture. This oxidation process creates short-chain aldehydes and carboxylic acids, the compounds responsible for rancid odors that taint vegetables, bread, and raw pastry rolled out on the surface.
Some natural oils, such as pure raw linseed oil or tung oil, are drying oils that cure through polymerization rather than staying wet. However, hardware-store boiled linseed oil contains metallic chemical dryers, such as cobalt or manganese compounds, which make it unsafe for food contact surfaces. Pure raw tung oil takes up to thirty days between coats to cure inside deep end-grain pores, leaving a board out of commission for months. If you suspect an old heirloom board has absorbed industrial finishes or heavy mold, consulting a professional wood conservator or food-safety specialist can help determine if the timber is salvageable.
| Oil or Treatment Type | Curing Behavior | Food Safety Profile | Risk of Rancidity |
|---|---|---|---|
| Olive or Vegetable Oil | Non-drying | Safe initially, spoils over time | High; oxidizes within weeks |
| Raw Food-Grade Tung Oil | Drying (21 to 30 days) | Safe when completely cured | Low; polymerizes into resin |
| Boiled Linseed Oil | Drying (chemical catalysts) | Not safe for food contact | Low, but toxic additives present |
| USP White Mineral Oil | Non-drying, non-reactive | Strictly safe (USP classified) | None; biologically inert |
Pharmaceutical-grade liquid paraffin, known as United States Pharmacopeia (USP) mineral oil, has had all aromatic hydrocarbons and impurities refined away. It is odorless, clear, non-drying, and biologically inert, meaning bacteria and fungi cannot consume it as a food source. When we saturate the wood with this stable fluid and lock it in place with beeswax, the wood fibers stay plump, dampening the cycle of swelling and shrinking that causes split glue joints.
Compounding Food-Grade Mineral Oil and Pure Beeswax
Commercial board balms can be expensive, but making your own paste in the workshop or kitchen takes twenty minutes and gives you complete control over purity. We compound the paste using a weight ratio between four parts oil to one part wax, up to five parts oil to one part wax. A four-to-one ratio yields a firm, butter-like paste that holds up well during humid summers. A five-to-one ratio yields a softer cream that spreads easily during cold winter months when thick wax stiffens.
You will need food-grade USP mineral oil, raw or cosmetic-grade filtered yellow beeswax, a digital kitchen scale, a heat-safe glass jar or metal container, and a small saucepan for a double boiler setup. Avoid heating wax directly over an open flame or electric burner, because beeswax vaporizes near its flashpoint of roughly 400 degrees Fahrenheit and can ignite rapidly. Water bath heating keeps the temperature safely below 212 degrees Fahrenheit.
- Tare your heat-safe container on the scale and weigh out 40 grams of pure beeswax pellets or shaved block wax.
- Add 160 grams of light USP mineral oil to the container to create a four-to-one ratio by weight.
- Place the container in a small saucepan filled with two inches of water, creating an indirect double boiler.
- Bring the water to a gentle simmer over medium-low heat. Stir occasionally with a clean wooden skewer or chopstick until the wax melts into a clear, golden fluid.
- Remove the container from the water bath using heat-resistant gloves, set it on a trivet, and stir steadily as it cools.
- Allow the mixture to set at room temperature for approximately two hours until it solidifies into an opaque, pale yellow paste with a soft, ointment consistency.
Using unrefined, light yellow cappings wax leaves a faint, natural scent of honey that dissipates within forty-eight hours of application. White bleached beeswax works equally well if you prefer no natural aroma, provided it carries a food-grade rating free of chemical bleaching residues.
Deep-Cleaning and Sanitizing the Dry Board
Applying wax over dirt, dried meat juices, or residual grease simply seals debris into the wood fibers. Before any wax touches the block, the surface must be thoroughly stripped of surface grime and completely dried. Begin by clearing dry debris with a steel bench scraper held at a sixty-degree angle, drawing the blade toward you with moderate, even pressure. This action shears off crusty food deposits without tearing into the wood.
Next, scrub the board with warm water, an unscented mild dish soap, and a stiff nylon bristle brush. Work the bristles vigorously across the grain to dislodge starch from the pore openings. Never submerge the cutting block in a sink basin or run it through a dishwasher. Immersion allows water to rush into the pores from both sides simultaneously, generating hydraulic pressure that fractures the internal glue lines between the hardwood blocks.
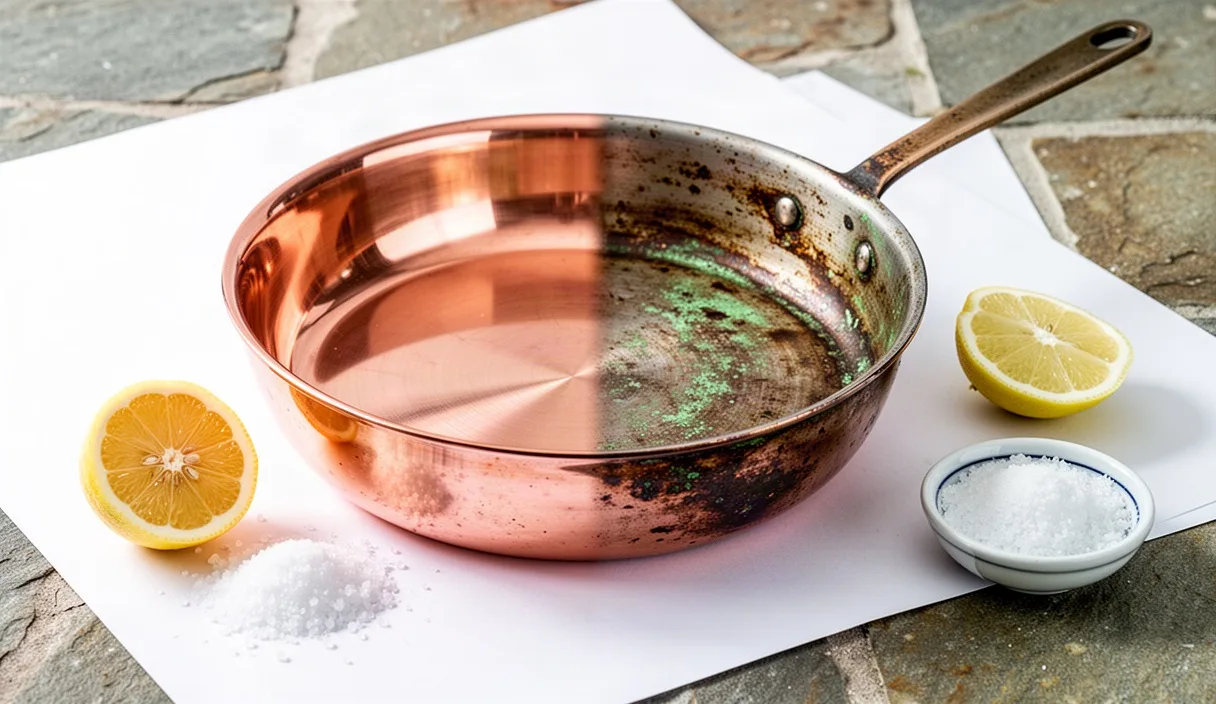
To sanitize naturally without degrading the glue, sprinkle two tablespoons of coarse kosher salt over the damp surface, cut a fresh lemon in half, and use the cut side as a scrubbing block. The citric acid pairs with the abrasive salt crystals to pull out lingering odors and lighten surface stains. Rinse the board quickly under warm running water, wipe away standing liquid with a clean cotton towel, and stand the board on its long edge in an open-air rack. Let it dry for a full twenty-four to forty-eight hours. If you trap moisture inside the block by applying wax to damp wood, internal fungal bloom and glue failure will follow.
Applying the Paste along the Wood Pores
When the timber feels bone dry, chalky, and slightly pale, it is ready to take conditioning paste. Gather a clean lint-free cotton cloth, an old cotton shop rag, or a pad of folded unbleached muslin. Avoid microfiber cloths, which can shed synthetic micro-threads into the open wood vascular pores.
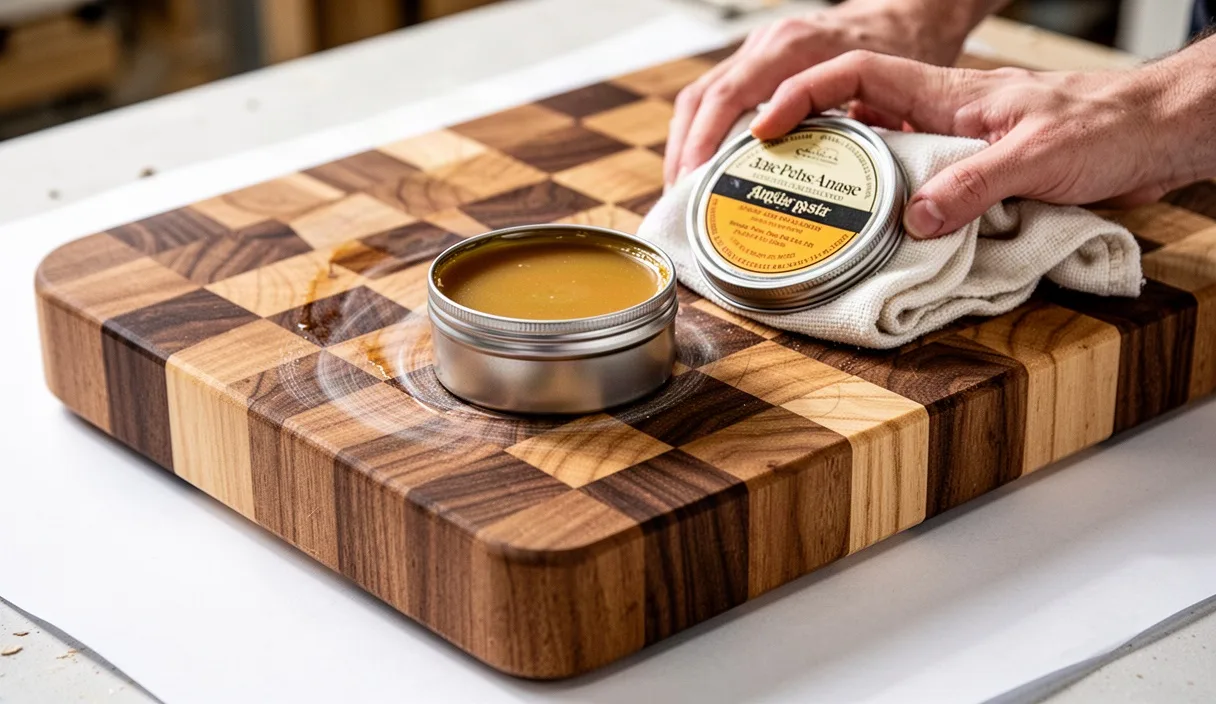
Scoop a dollop of wax paste about the size of a walnut onto the center of the board. The paste will feel stiff initially, but as you spread it, the friction generated by your hand warms the wax, turning it into a silky, easily workable fluid. Work the paste in tight circular motions first, pushing the material down into the pore cavities rather than skimming along the peaks.
Once you distribute the paste across the broad working surface, switch to firm, linear strokes aligned with the rows of end-grain blocks. Apply substantial pressure with the heel of your hand. You will see the wood immediately darken, shifting from a dry, muted tone to a deep, rich hue where the growth rings and medullary rays stand out. Do not neglect the perimeter edges, the finger grooves, and the bottom face. Even if you only cut on one side, both sides must be conditioned equally. If one face absorbs environmental humidity while the opposite face is sealed against it, the uneven moisture absorption causes the board to warp or cup.
Letting the Wax Penetrate Overnight
Patience plays an important role in finishing end-grain work. Unlike flat edge-grain timber, where the pore channels run horizontally parallel to the surface, an end-grain block acts like thousands of vertical drinking straws. Capillary action slowly draws the liquid mineral oil fraction deep into the heart of each block, while the heavier wax platelets remain suspended near the upper two millimeters of the wood.
Leave the freshly coated board resting upright on its edge overnight, or for a minimum of twelve to fourteen hours, in a warm, dry room between 68 and 74 degrees Fahrenheit. Placing it flat on a counter traps residual moisture beneath the underside and prevents airflow, so standing it vertically on rubber pads or a drying rack is essential. If the room is too cold, the wax solidifies prematurely on the surface, preventing deep penetration of the carried oil.
By the next morning, examine the wood under good raking light. You will likely see uneven patches: some blocks of wood (often the more porous sapwood sections of cherry or walnut) will have sucked in every bit of wax and appear dry and dull again, while dense latewood rings will still show a film of excess paste. If large dry areas appear, apply a second light coat to those specific thirsty blocks and let them rest for another two hours before proceeding to buff.
Buffing to a Water-Resistant Satin Luster
The final stage establishes the working surface. The board now holds an excess crust of cooled, hardened beeswax that feels tacky to the touch. Buffing smooths this crust into a thin, cohesive sheet that repels water droplets while leaving the surface silky rather than sticky.
Take a clean, dry terrycloth towel, a scrap of wool felt, or a piece of heavy linen. Fold it into a dense pad. Begin buffing the board using broad, vigorous arm strokes, applying substantial downward weight. The goal here is friction. As the rubbing generates surface warmth, the excess wax softens, spreads into an ultra-thin film, and the clean fibers of the towel wipe away the excess paste.
Continue buffing until the drag on your cloth disappears. When the towel glides across the timber without resistance, the process is complete. The wood will display a soft, warm satin luster rather than a high-gloss plastic sheen. To test the finish, flick a few drops of tap water from your fingertips onto the surface. If the conditioning is adequate, the water will pull itself into high, round beads that sit on top of the grain without spreading or soaking in. You can push these beads around with a finger, leave them for ten minutes, and wipe them away with a cloth to find dry wood underneath.
Common Mistakes
- Using raw kitchen oils: Vegetable, corn, and olive oils eventually break down into foul-smelling rancid byproducts inside the closed timber cells.
- Coating a damp cutting board: Sealing wood that has not dried for at least twenty-four hours locks water inside, which rots the grain and breaks waterproof aliphatic wood glues.
- Warming wax over an open burner: Beeswax melts easily but possesses a volatile flash point. Melting wax directly on high stove heat without a double boiler creates a serious fire hazard.
- Treating only the top face: Conditioning one side while ignoring the reverse causes asymmetric moisture exchange with ambient air, causing expensive boards to twist or split down glue seams.
- Using excessive wax without buffing: Leaving a thick, unbuffed layer creates a sticky film that grabs culinary flour, dough, and meat trimmings instead of allowing knives to move freely.
Practical Next Steps
To keep an end-grain board stable for daily cooking, set up a simple maintenance schedule. Keep your compounded wax paste sealed in a clean, airtight glass canning jar stored away from direct sunlight. Under regular household use, an end-grain block needs a deep wash and fresh wax application every four to six weeks, or whenever water drops stop beading on the surface and begin soaking in as dark spots.
For daily cleaning after light food preparation, wipe the surface with a damp washcloth and dry it immediately on edge. If you prepare raw poultry or heavily spiced meats, scrape the board clean with your bench knife, wash with warm soapy water without soaking, dry thoroughly, and rub a tiny dime-sized portion of paste into the working area before storing. If a board ever develops deep knife gouges, persistent odors, or warped sections that rock on the counter, consult an experienced woodworker to flatten the timber safely on a wide-belt sander or drum sander before re-establishing this wax finish from scratch.